
In November 2024, a preprint was posted on bioRxiv describing YORU, a behavior analysis tool that takes a different approach from existing behavior analysis tools.
In this post, I’d like to explain what kind of tool it is.
The YORU preprint
The YORU documentation
What is YORU?
YORU is a deep learning-based tool for analyzing animal behavior.

A number of deep learning-based tools, such as DeepLabCut and SLEAP, have already been released.
These tools use deep learning to track body parts of animals and estimate their posture (here I’ll refer to them as tracking tools).
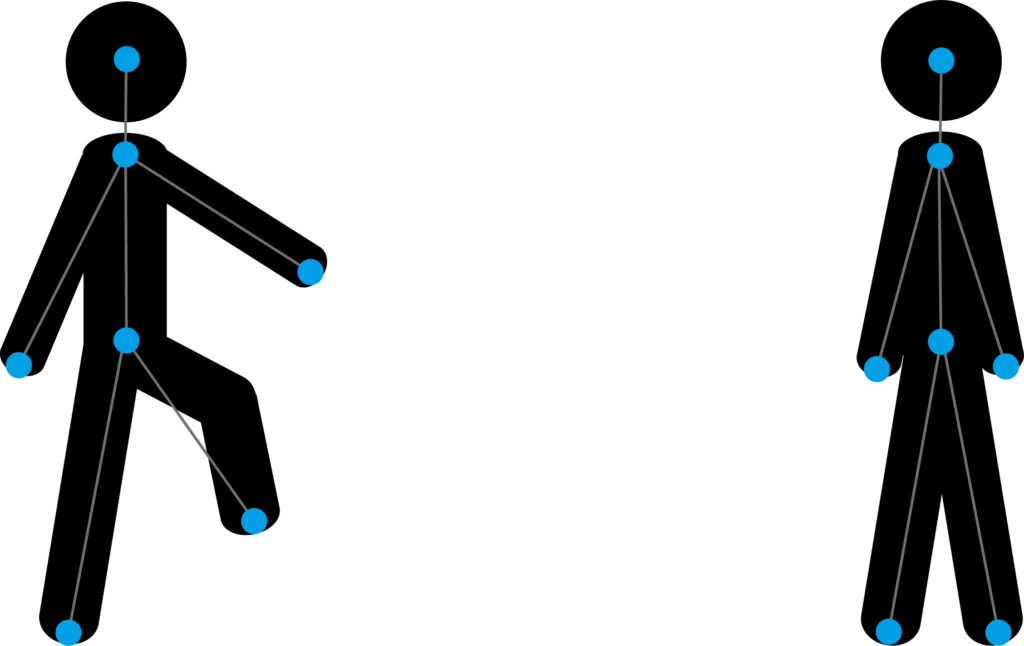
By estimating posture, they reveal what posture an animal is in and use that for behavior analysis.
YORU, by contrast, recognizes behavior using an object detection algorithm.
In short, it does not track body parts; instead, it defines behavior directly from the appearance of the animal as it behaves.
When people tell an apple from a mandarin orange, they rely on cues such as shape and color.
Object detection excels at classifying objects, so it makes exactly this kind of appearance-based distinction.
Applying this to animal behavior analysis means classifying animal behavior from its appearance.
Within YORU, we call this a “behavior object.”
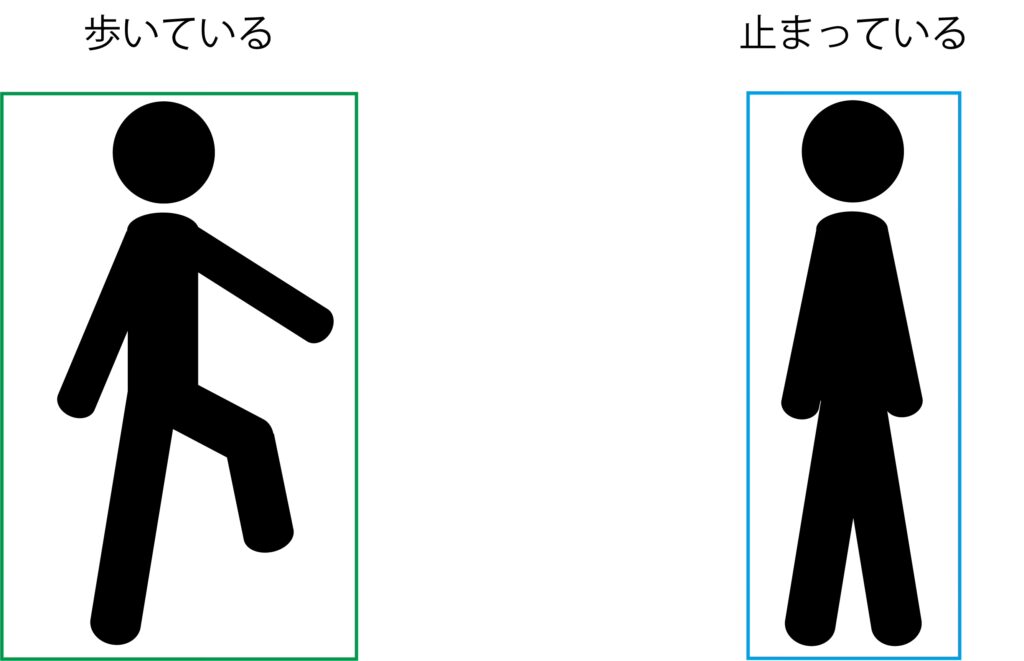
Whereas tracking tools represent behavior as points and lines, YORU analyzes behavior by enclosing it in a bounding box.
Advantages of defining behavior with object detection
The advantages of object detection-based behavior analysis include:
・Errors are less likely as the number of individuals increases
・Less sensitive to the orientation of the animal
・Fast analysis speed
・Can capture behaviors that are hard to capture by tracking (such as a mouse crouching)
and so on.
It makes it easy to analyze the behavior of multiple individuals—a weak point of tracking tools—at a considerably lower computational cost.
It can also easily analyze behaviors that are difficult to define from the positional information of body parts.
Consider, for example, the act of opening and closing a hand.
With a tracking tool, you would track the fingertips with a camera and define the hand as open or closed, but if the fingertips become hidden when the hand closes, tracking fails and the positional information can no longer be computed accurately.
With object detection, however, the model looks at the overall shape of the open and closed hand, so it can capture the state accurately even when part of the hand is hidden.
The same logic explains its robustness to larger numbers of individuals: with a tracking tool, as the number of individuals grows, you must assign each body part to the correct individual to capture each individual’s behavior accurately, whereas YORU analyzes only the shape of each individual and therefore requires no individual identification or assignment.
Because analysis is fast, real-time analysis is possible, allowing you to control equipment when a particular behavior occurs and thus automate behavioral experiments.
Disadvantages of defining behavior with object detection
Of course, there are disadvantages as well:
・Cannot capture a sequence of behaviors
・Cannot identify individuals
・Cannot capture unknown behaviors
・Cannot capture behaviors that are hard to distinguish by appearance
・Provides no detailed information about the defined behavior
These are precisely the strengths of tracking tools; rather than one approach being superior, the two complement each other’s advantages and disadvantages.
Experimenters therefore need to choose the method appropriate to their situation.
What makes YORU special?
Having described the advantages and disadvantages of the object detection-based behavior analysis that underlies YORU, what exactly makes YORU special?
Everything runs through a GUI
YORU lets you perform behavior analysis without any programming.
The same is true of tools like DeepLabCut and SLEAP, and it goes a long way toward making these analyses accessible to biologists.
Design
Unlike previous tools, YORU’s design doesn’t really feel like a research tool.
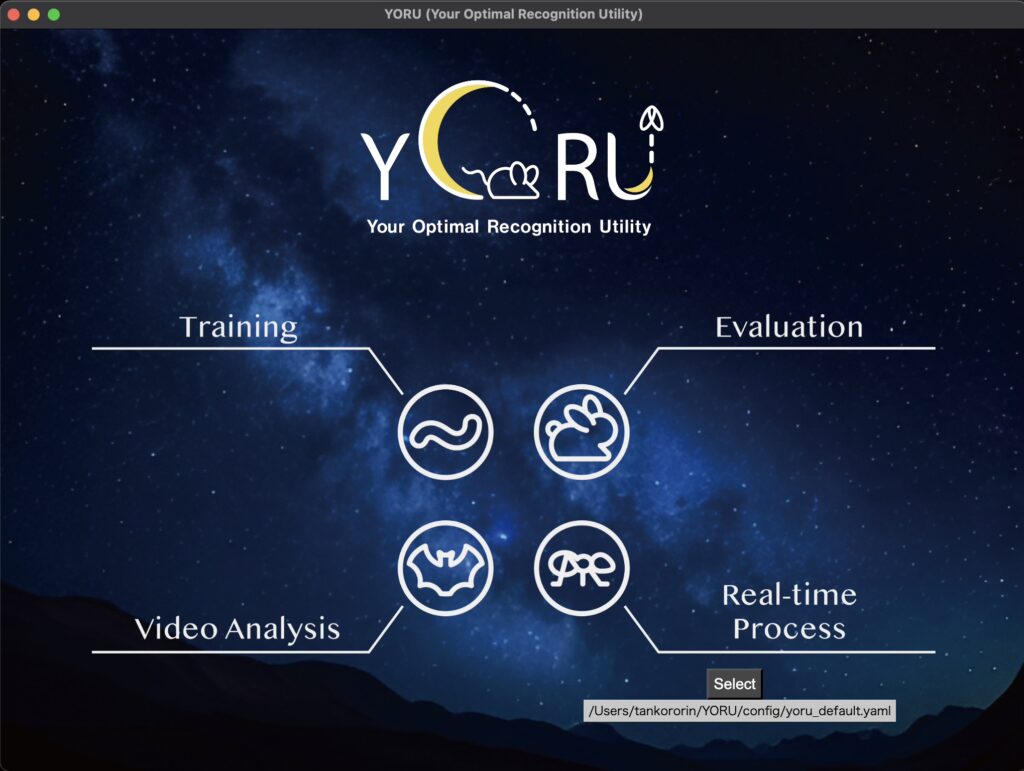
Built-in real-time analysis
Unusually for tools of this kind, YORU comes with a full GUI for real-time analysis.
Building a real-time analysis system isn’t that difficult if you can program to some extent, but otherwise the barrier is quite high.
With YORU, however, real-time analysis and even external triggering can all be done without any programming.
Adaptable to a wide range of experimental setups
The biggest hurdle in real-time analysis is figuring out how to combine the code that drives your own experimental apparatus with the analysis itself.
YORU adopts a plugin system, letting you choose the program that controls your external device.
In other words, you simply select the plugin that matches your own system.
You can also write your own plugins: by wrapping the control program for your own apparatus in a plugin, you can easily link it to YORU’s real-time analysis.
This makes for a remarkably easy-to-use system that no other tool offers.
Closing remarks
YORU has only just been released, and there are still rough edges in usability as well as gaps in the documentation.
That said, as these are addressed over time, I am very much looking forward to seeing how it comes to be used.