![How to Install SLEAP [Updated February 2024]](https://www.tankobucreate.com/wp-content/uploads/2024/01/スクリーンショット-2024-01-21-21.14.17.png)
Here I’d like to describe how to install SLEAP, a machine learning-based tool for tracking animal body parts.
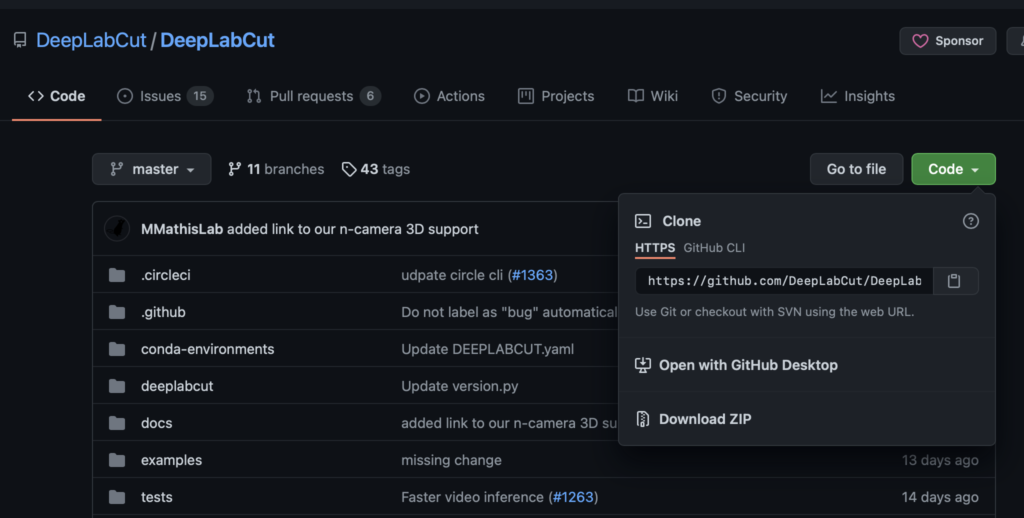
DeepLabCut is the most widely used tracking tool, and I have written about how to install it in the past, as have many other people.
For SLEAP, however, there are currently few articles available in Japanese.
SLEAP has many advantages over DeepLabCut, so I decided to write up the installation procedure to make it a viable option for more people.
SLEAP’s documentation, from installation to usage, is extremely well organized and comes with videos, so anyone comfortable with English should find it easy to get started.
The SLEAP paper is available here
The official SLEAP website is here
The SLEAP GitHub repository is here
Introduction
First of all, regarding the approach described in the official SLEAP installation guide,
mamba create -y -n sleap -c conda-forge -c nvidia -c sleap -c anaconda sleap=1.3.3which sets up the environment, installs the packages, and handles everything else in a single command: I tried this on several computers, but in every case it stalled indefinitely during the environment setup and never completed successfully.
So here I introduce an alternative installation method, also suggested by the developers.
Installation
We will basically follow the installation instructions on the official SLEAP website.
Environment
・Windows 11 Pro
・Verified on an NVIDIA 3080
・SLEAP 1.3.3
・Python 3.7.12
Downloading the files
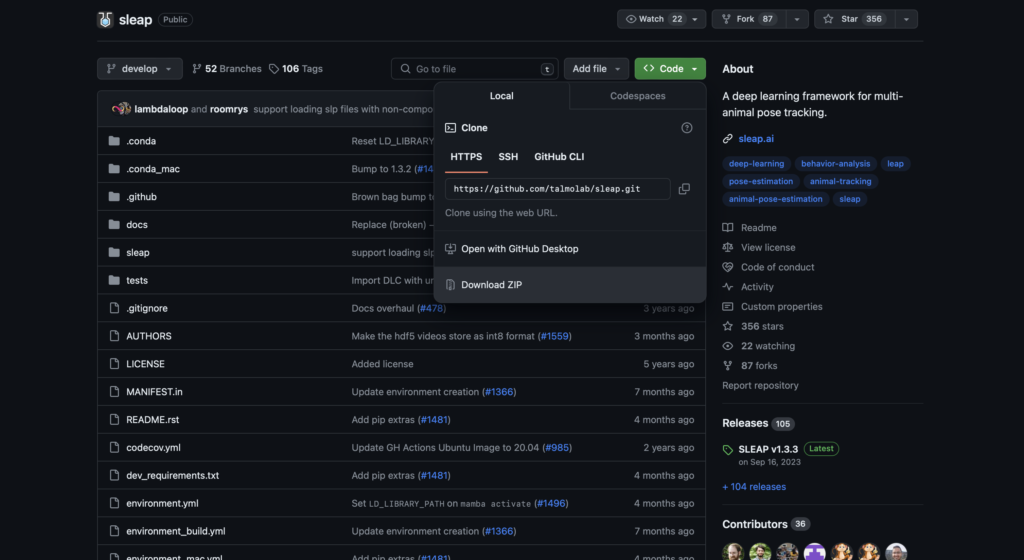
First, download the files from the SLEAP GitHub repository to your computer.
If you are using Git, run the following command.
git clone https://github.com/talmolab/sleapIf the git command is not available, either install git or download the files directly from GitHub.
Installing the GPU driver
Install the NVIDIA driver.
(Skip this step if it is already installed.)
Installing Anaconda
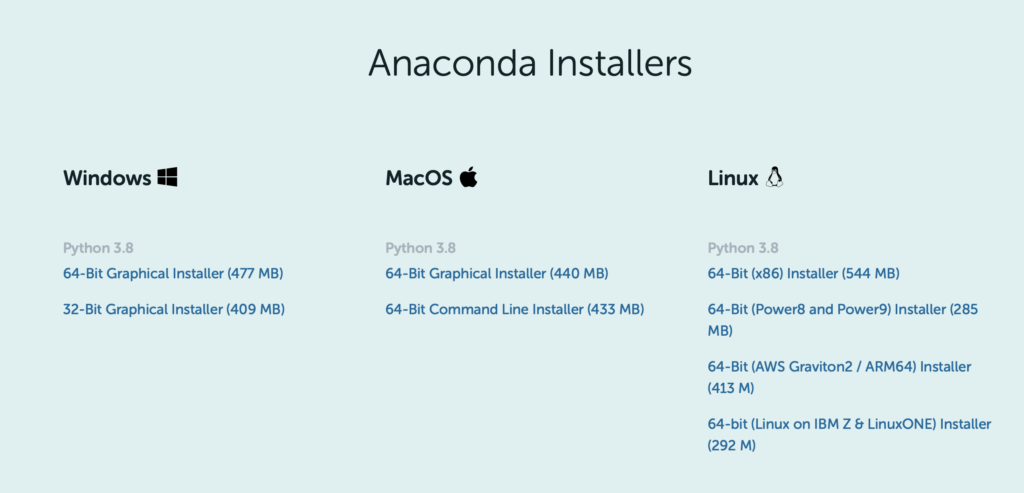
Next, download and install the Windows 10 64-bit version from the Anaconda website.
Click Free Download on the Anaconda site and scroll down; you should see a screen like the one below.
Install the Windows installer on the far left.
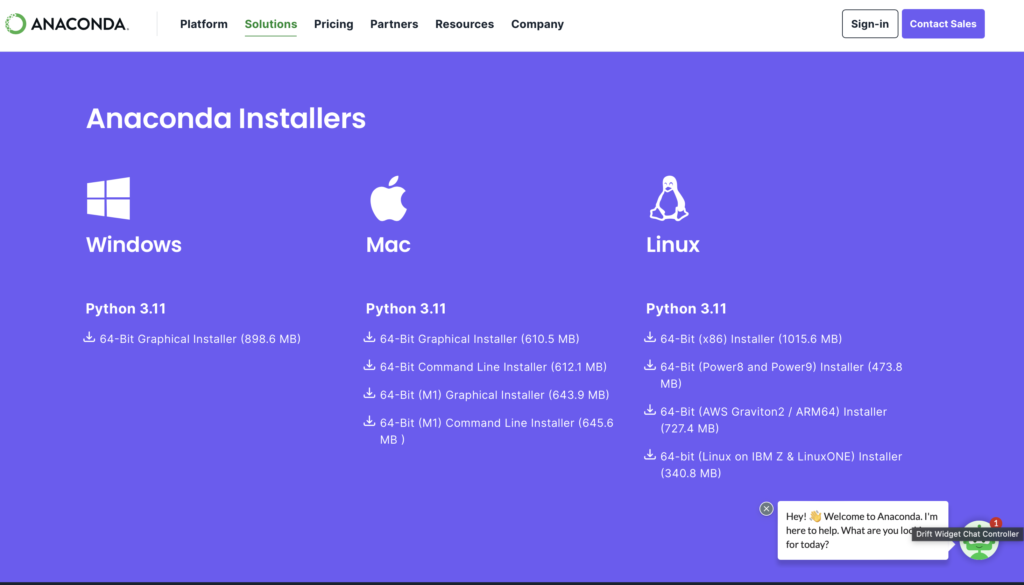
Once Anaconda is installed, you should find “Anaconda Prompt” in your Windows app list.
We will use it to run the commands below to create the virtual environment, install SLEAP, and launch it.
Creating the virtual environment and installing
Next, run the following commands to create the virtual environment and install SLEAP.
The environment will be named “sleap”.
cd sleap
conda env create -f environment.yml -n sleap
Note that the commands above work on computers with a GPU;
on computers without one, use the following commands instead.
cd sleap
conda env create -f environment_no_cuda.yml -n sleap
That completes the installation.
Verifying the installation
Activate the virtual environment and launch SLEAP with sleap-label.
conda activate sleap
sleap-label
You need to activate the virtual environment (the conda activate sleap command) every time you reopen Anaconda Prompt.
After activation, the prompt should change from (base) to (sleap).
If SLEAP launches, the installation was successful.
Checking version information for reporting in a paper
To check the version, activate the sleap environment and run the following command.
python -c "import sleap; sleap.versions()"This will output
SLEAP: 1.3.3
TensorFlow: 2.7.0
Numpy: 1.21.5
Python: 3.7.12
OS: Windows-10-10.0.22621-SP0
showing the SLEAP version information and related details.
You can also check whether SLEAP can use the GPU with
python -c "import sleap; sleap.system_summary()"which should produce output like the following when the GPU is available.
GPUs: 1/1 available
  Device: /physical_device:GPU:0
         Available: True
       Initialized: False
     Memory growth: None
In future posts, I hope to walk through how to actually use SLEAP.
Bonus
For those unsure which computer to buy, I’ve started offering PC purchase consultations on Coconala!
あなたの要望に合わせてパソコンを選び、提案します パソコン選びに困っている方々へ!様々な目的に対応できます!I often pick out computers and give advice on them, and many friends have told me I could make money doing PC consultations.
That inspired me to give it a try!
I’ll recommend a machine that fits both what you want to use it for and your budget.
In particular, I’ve chosen and used many computers for machine learning.
And if you’d like, I’m happy to advise you on what to look for the next time you buy a computer.
Machines I’ve picked out so far include lab analysis computers, everyday-use computers, computers for game streaming, computers for incoming university students, computers that can run CAD for architecture students, and simple stopgap machines.
I use both Mac and Windows, so I can talk about and recommend either one!
Please feel free to make use of it.
![How to Install DeepLabCut 2.3 [Updated December 2023]](https://www.tankobucreate.com/wp-content/uploads/2021/03/DLC_logo_blk_wide-01.png)